******* DISCLAMER *******
Please don’t use any of the information I am about to give for illegal or nefarious purposes. This is a personal project that is intended as learning experience.
*************************
Have you ever wondered how someone is able to put a website on the dark web?
Well today were going to be making one on a cheap Raspberry Pi in less than an hour!
I know the Dark Web can seem like a pretty scary place. If you go down the rabbit hole far enough, the truth of that answer is… well yes, people can be pretty shitty when they’re “completely” anonyms.
With that said there is plenty of legitimate websites who’s intended purpose is to give a voice to those under the oppression of corrupt governments. Just to name a few, you can spin up a tor client and check them out.
ProPublica – http://lvtu6mh6dd6ynqcxtd2mseqfkm7g2iuxvjobbyzpgx2jt427zvd7n3ad.onion/
BBC – http://bbcnewsv2vjtpsuy.onion/
Facebook – https://www.facebookwkhpilnemxj7asaniu7vnjjbiltxjqhye3mhbshg7kx5tfyd.onion/
With that said lets create a little corner of the internet for ourself!
Hardware
Raspberry Pi 3b
SD card – 64 GB/ *8 GB is probably the minimum you should use
Initial Setup
Download the Raspberry Pi installer for the OS your using from: https://www.raspberrypi.com/software/
Installing Raspberry Pi OS on Your microSD card:
1. Once downloaded run the installer
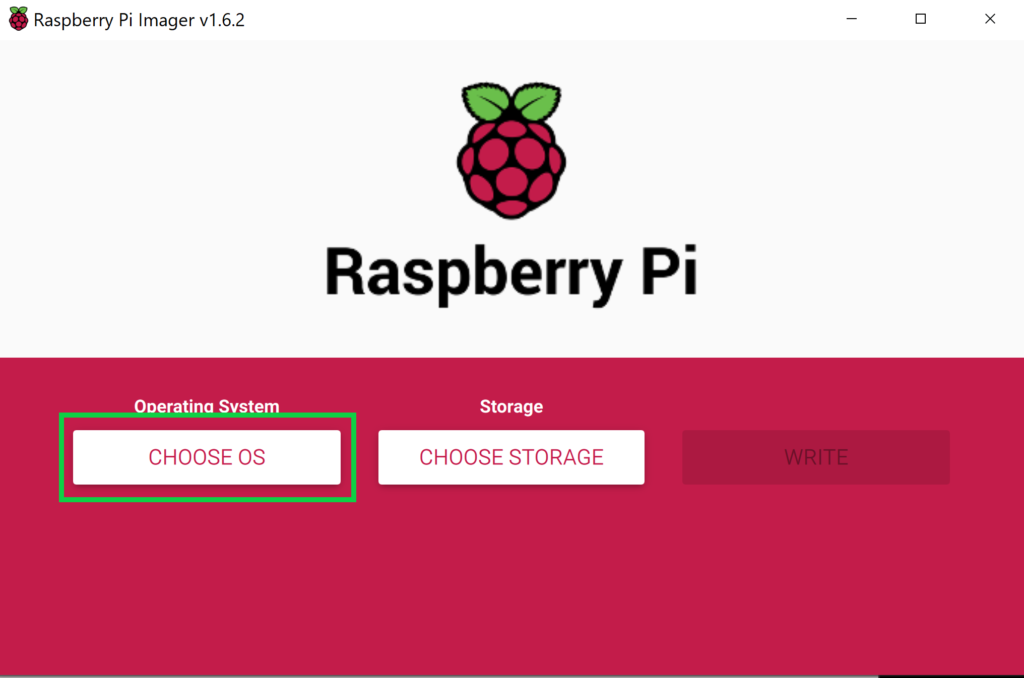
2. Choose Raspberry Pi OS (32-bit)
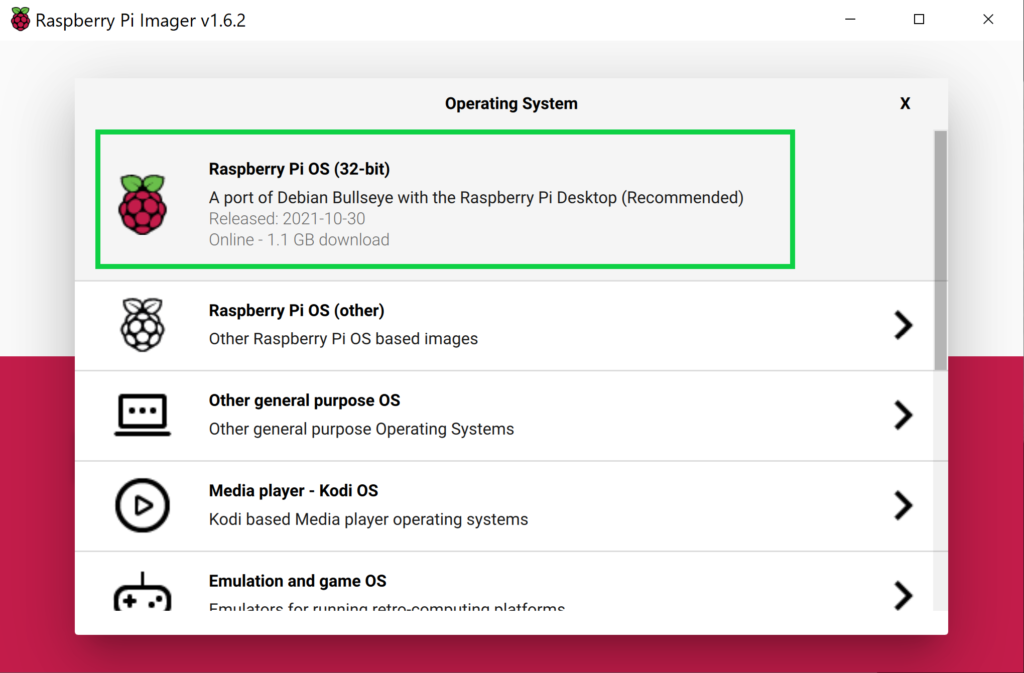
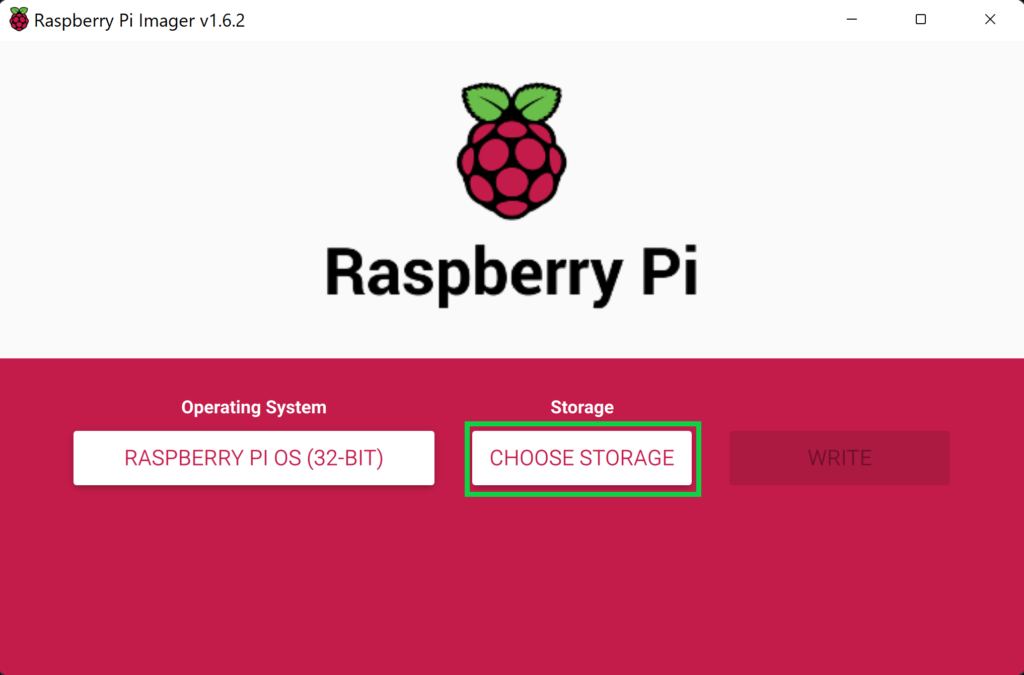
3. Choose Storage (SD Card)
4. Start writing the OS to the SD card. This will take a while. I know we just started but go ahead and take a little break.
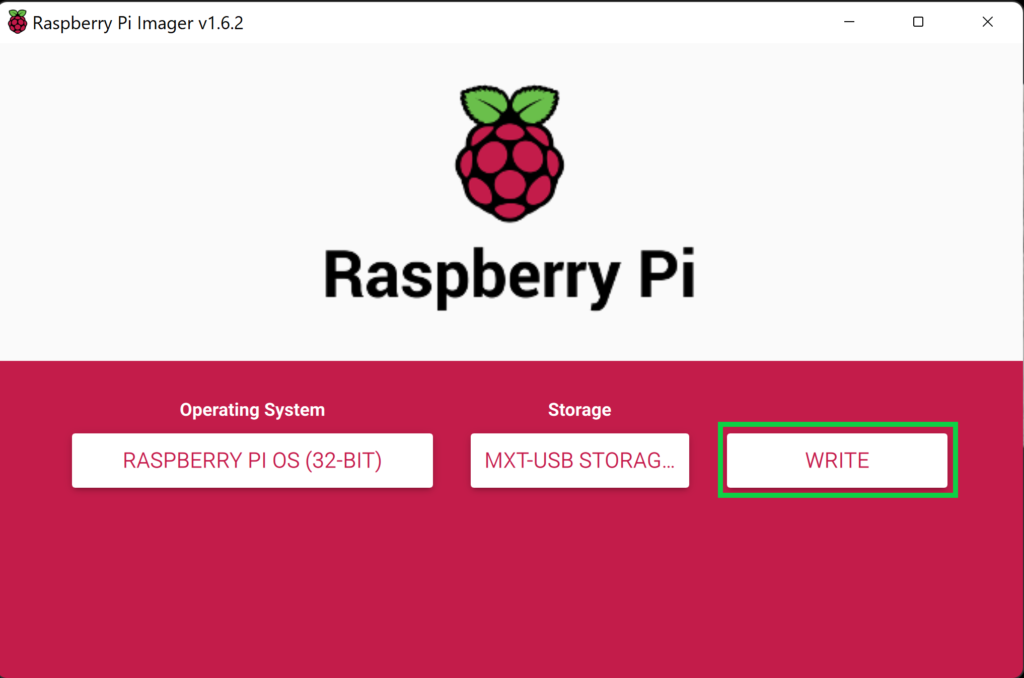
Once the flash is complete DON’T remove the SD card. We have a few more steps!
Creating a headless setup with Wi-Fi
***This step is not needed if you are using a keyboard, mouse, monitor and LAN***
- Create a new text file and name it “ssh“. Then delete the “.txt” extension so it becomes a blank file
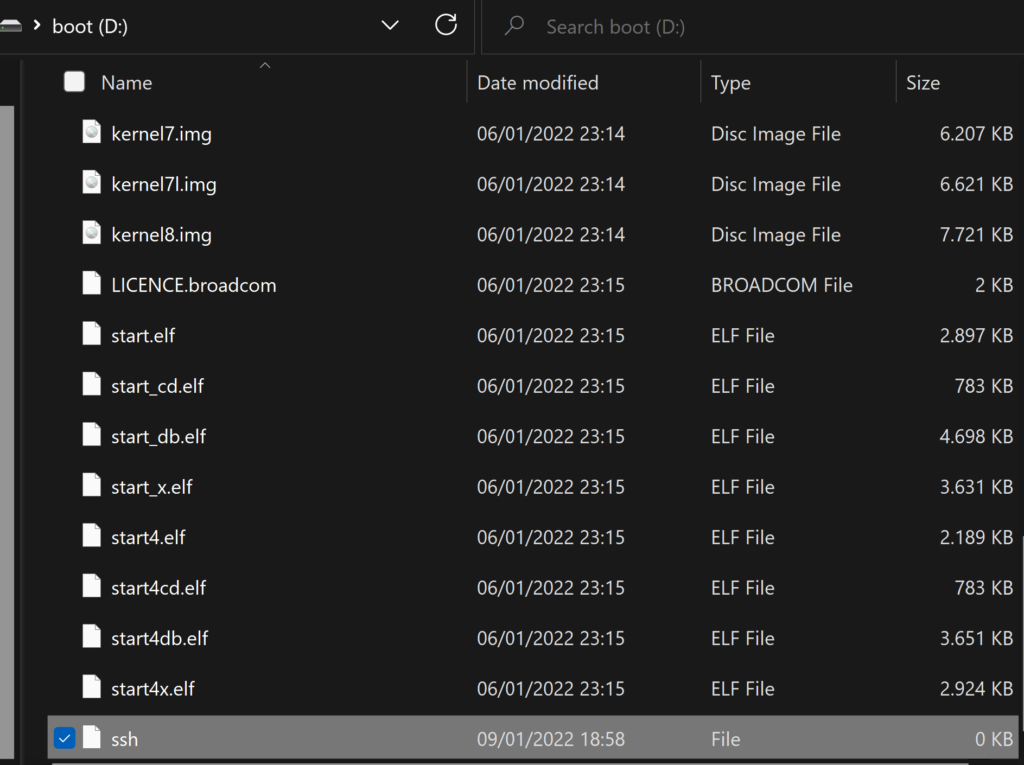
2. Next create another text file and name it “wpa_supplicant.conf“. Open it up in a text editor and add the following lines. Then delete the “.txt” extension just like before with the “ssh” file.
country=US
ctrl_interface=DIR=/var/run/wpa_supplicant GROUP=netdev
update_config=1

network={
scan_ssid=1
ssid="WIFI SSID"
psk="PASSWORD"
}
Change country= to your country code; Change ssid= “YOUR WIFI NAME”; Change psk=”YOUR PASSWORD”
Put that SD card in your pi and lets boot that sucker up!
Connecting to your Pi with ssh
For Windows open up PowerShell or command prompt, for Linux users open up the terminal. You can always use Putty as well(although setup will be a bit different). Now connect through ssh with the command:
ssh [email protected]
Change password and update
You’ll be asked for the password to access the pi. The defualt password for all Raspberry Pi’s is: raspberry
It’s good practice to change this password as soon as possible with the command:
passwd
Another good practice when logging on is to update the repositories
sudo apt update && sudo apt upgrade -y
Whew… We did it we have a updated and working Pi!…..
Now what?
Install and set up tor
Install tor with:
sudo apt install tor
Now lets configure tor
sudo nano /etc/tor/torrc
In this file we’re going to uncomment the two highlighted lines.
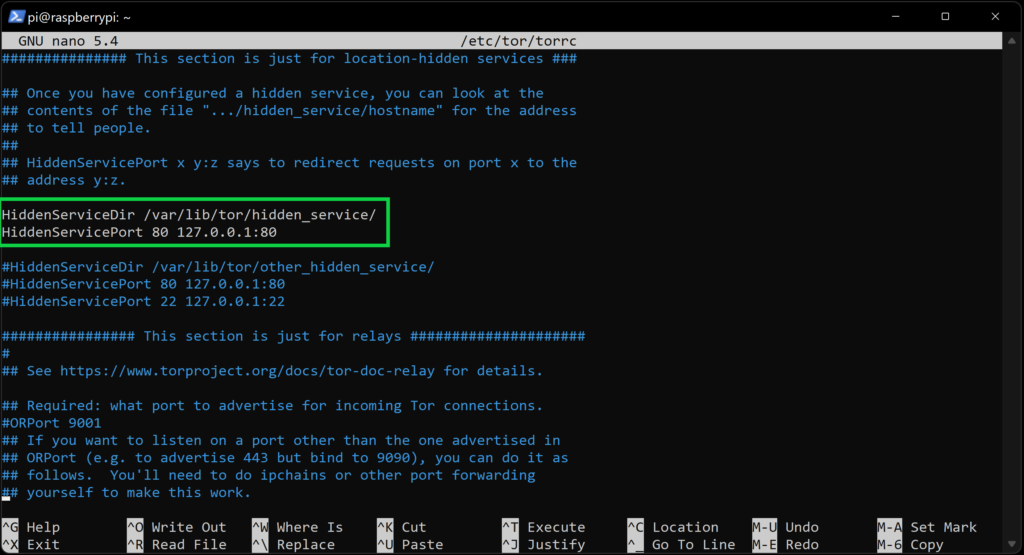
Now hit Ctrl+x to exit, y to agree, and Enter to save.
Time to restart the tor service so everything runs smoothly with:
sudo service tor stop
sudo service tor start
It’s time to check if everything worked so far. Type:
sudo cat /var/lib/tor/hidden_service/hostname
That command should print out something like this.
5wrsde6isjo22wfm2qrrq36487sdd6wiclig32fl72l4sbe5wfpijbbf.onion
That is YOUR NEW ONION WEB ADDRESS!
Setting up our web server
We’re going to be using the Nginx webserver software for this project because it’s light weight and less resource intensive compared to Apache.
First things first lest download Nginx.
sudo apt install nginx
Now start your Nginx server
sudo service nginx start
You should now check to see if everything worked by going to your .onion address in a tor browser.
